2025-06-28 12:25:18
Metroid Brinstar #NES
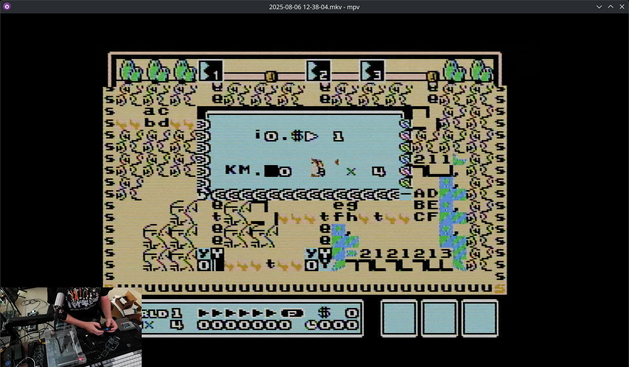
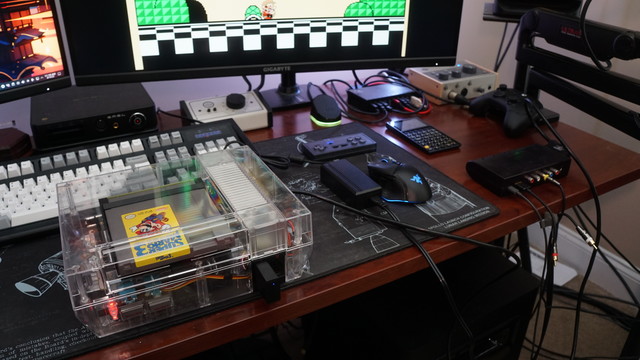
Drinking a few beers and playing games to shakedown the NES NESRGB install. Also, I'm 99% I've got the audio stuff sorted maybe...
#nes
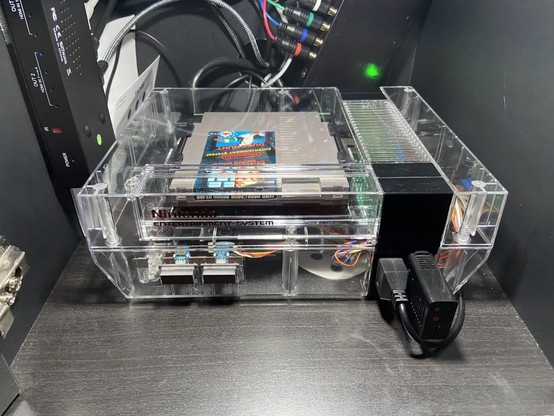
The NES is 100% alive...THERE WILL BE CASTLEVANIA SOONISH.
#nes #retroconsoles #gaming
Quick review of the outputs of the NESRGB, I think the results speak for themselves quality-wise. The finale of the NESRGB NESessity install: #nes
Got the NESRGB installed for the most part and the picture quality is outstanding. Composite looks very good, S-Video is outstanding, and RGB is perfect. I _think_ I fucked up the controller part of the NESRGB because I can't change palettes and the IGR doesn't work...I'll handle that later.
#nes
Initial tests for the NES, nothing caught fire and everything looks great. Still waiting on the parts from Digikey and the NESRGB to come in.
#nes
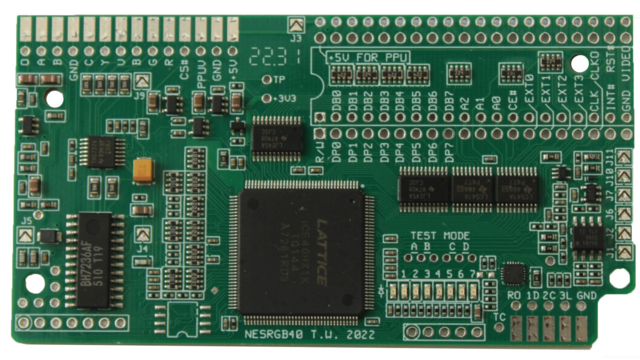
NESRGB PPU installed into the mainboard. Still need to run wires to all the video pins, but this was the actual difficult part.
#nes #nesrgb #retroconsoles
Looks like today should be the last day of NES work as the NESRGB mod is coming in today. Even better, the EuroSCART cable is coming in so I can test out the composite, S-Video, and RGB output from the console as well. I'm genuinely curious to see how different the PPU's composite output compares to the NESRGB's version. After everything is done, I'll get the blog post updated and published. Should be a fun day.
Last but not least: I've got an NESRGB on the way to the US from Australia. This is the final bit that I always wanted to install, and figured this Frankenstein's monster of a frontloader NES would be perfect with some nice RGB outputs instead of the standard composite outputs.
#retrogaming #nes
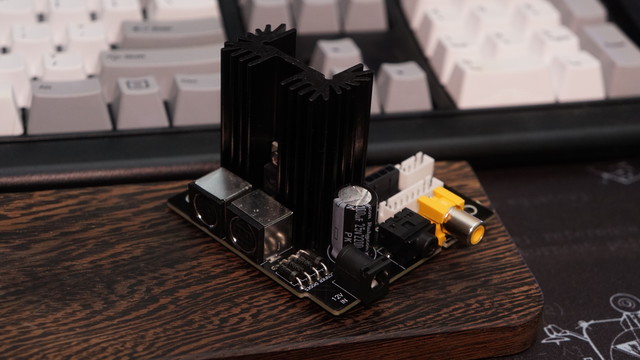
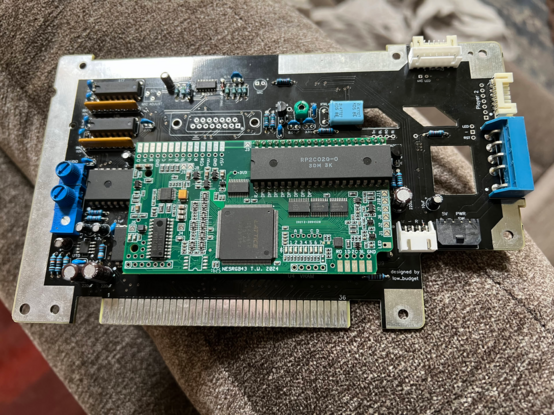
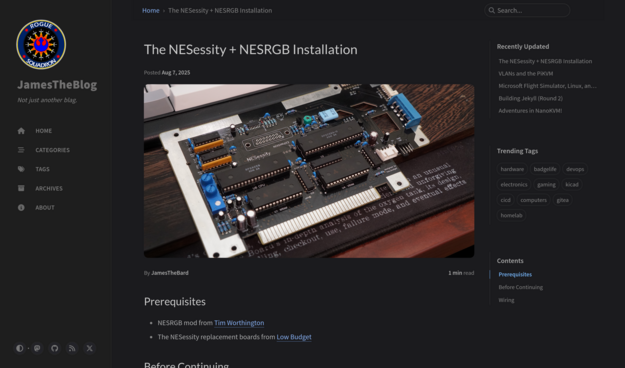
#NES progress update: the NESessity v1.4 power/AV board with NESRGB support is finished, got everything soldered and it's ready to go. Still waiting some other parts to come in including the actual NESRGB. The ports from left to right: S-Video, RGB, 12V DC, stereo audio, and composite video. The long 8-pin header is where the some of the outputs of the NESRGB connect to the video outputs o…
Starting to document the journey with the NESessity board NESRGB installation. The docs are there, but they're kinda hard to put together. I'm hoping to get the information in one place and offer more clarity on how everything fits together.
#nes #nesessity
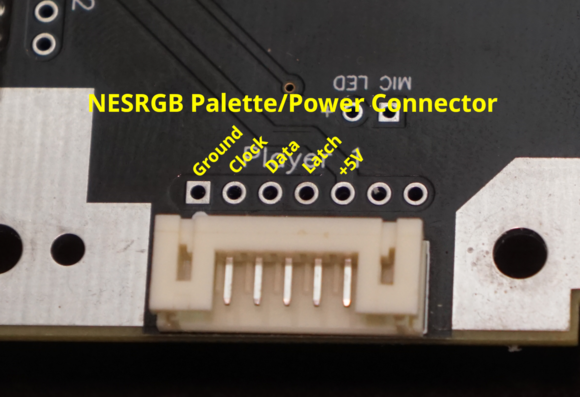
Okay, figured out how I'm routing the palette select connections along with 5V power: the Player 1 connector. Pins 1 and 5 get me GND and 5V, and the Clock/Data/Latch signals come out of pins 2/3/4 respectively. This saves me running another set of cables directly from the power board.
#nes #nesissity
Okay, final purchase for the NES: an 8-pin mini-DIN to SCART cable for the NES. Kind of a pain in the ass to track down, but RetroGamingConsoles had my back like always. Not a cheap cable, but it'll get the job done perfectly with respect to output from the NESRGB into the RetroTINK.
#retrogaming #nes #nesrgb
Initial NESessity NESRGB guide up, will probably change over the next few days during the install/verification.
https://blog.jamesthebard.net/posts/nesrgb-and-nesessity-install/
Okay, had to make a second order of components because we're kinda off the script for hooking up the NESRGB on the NESessity board. Grabbed a 7 pin header for the P1 controller so I can use the controller to change the RGB palette in use as I don't want to use a mechanical switch. Also, I really want to ensure I can remove the NESRGB without desoldering anything.
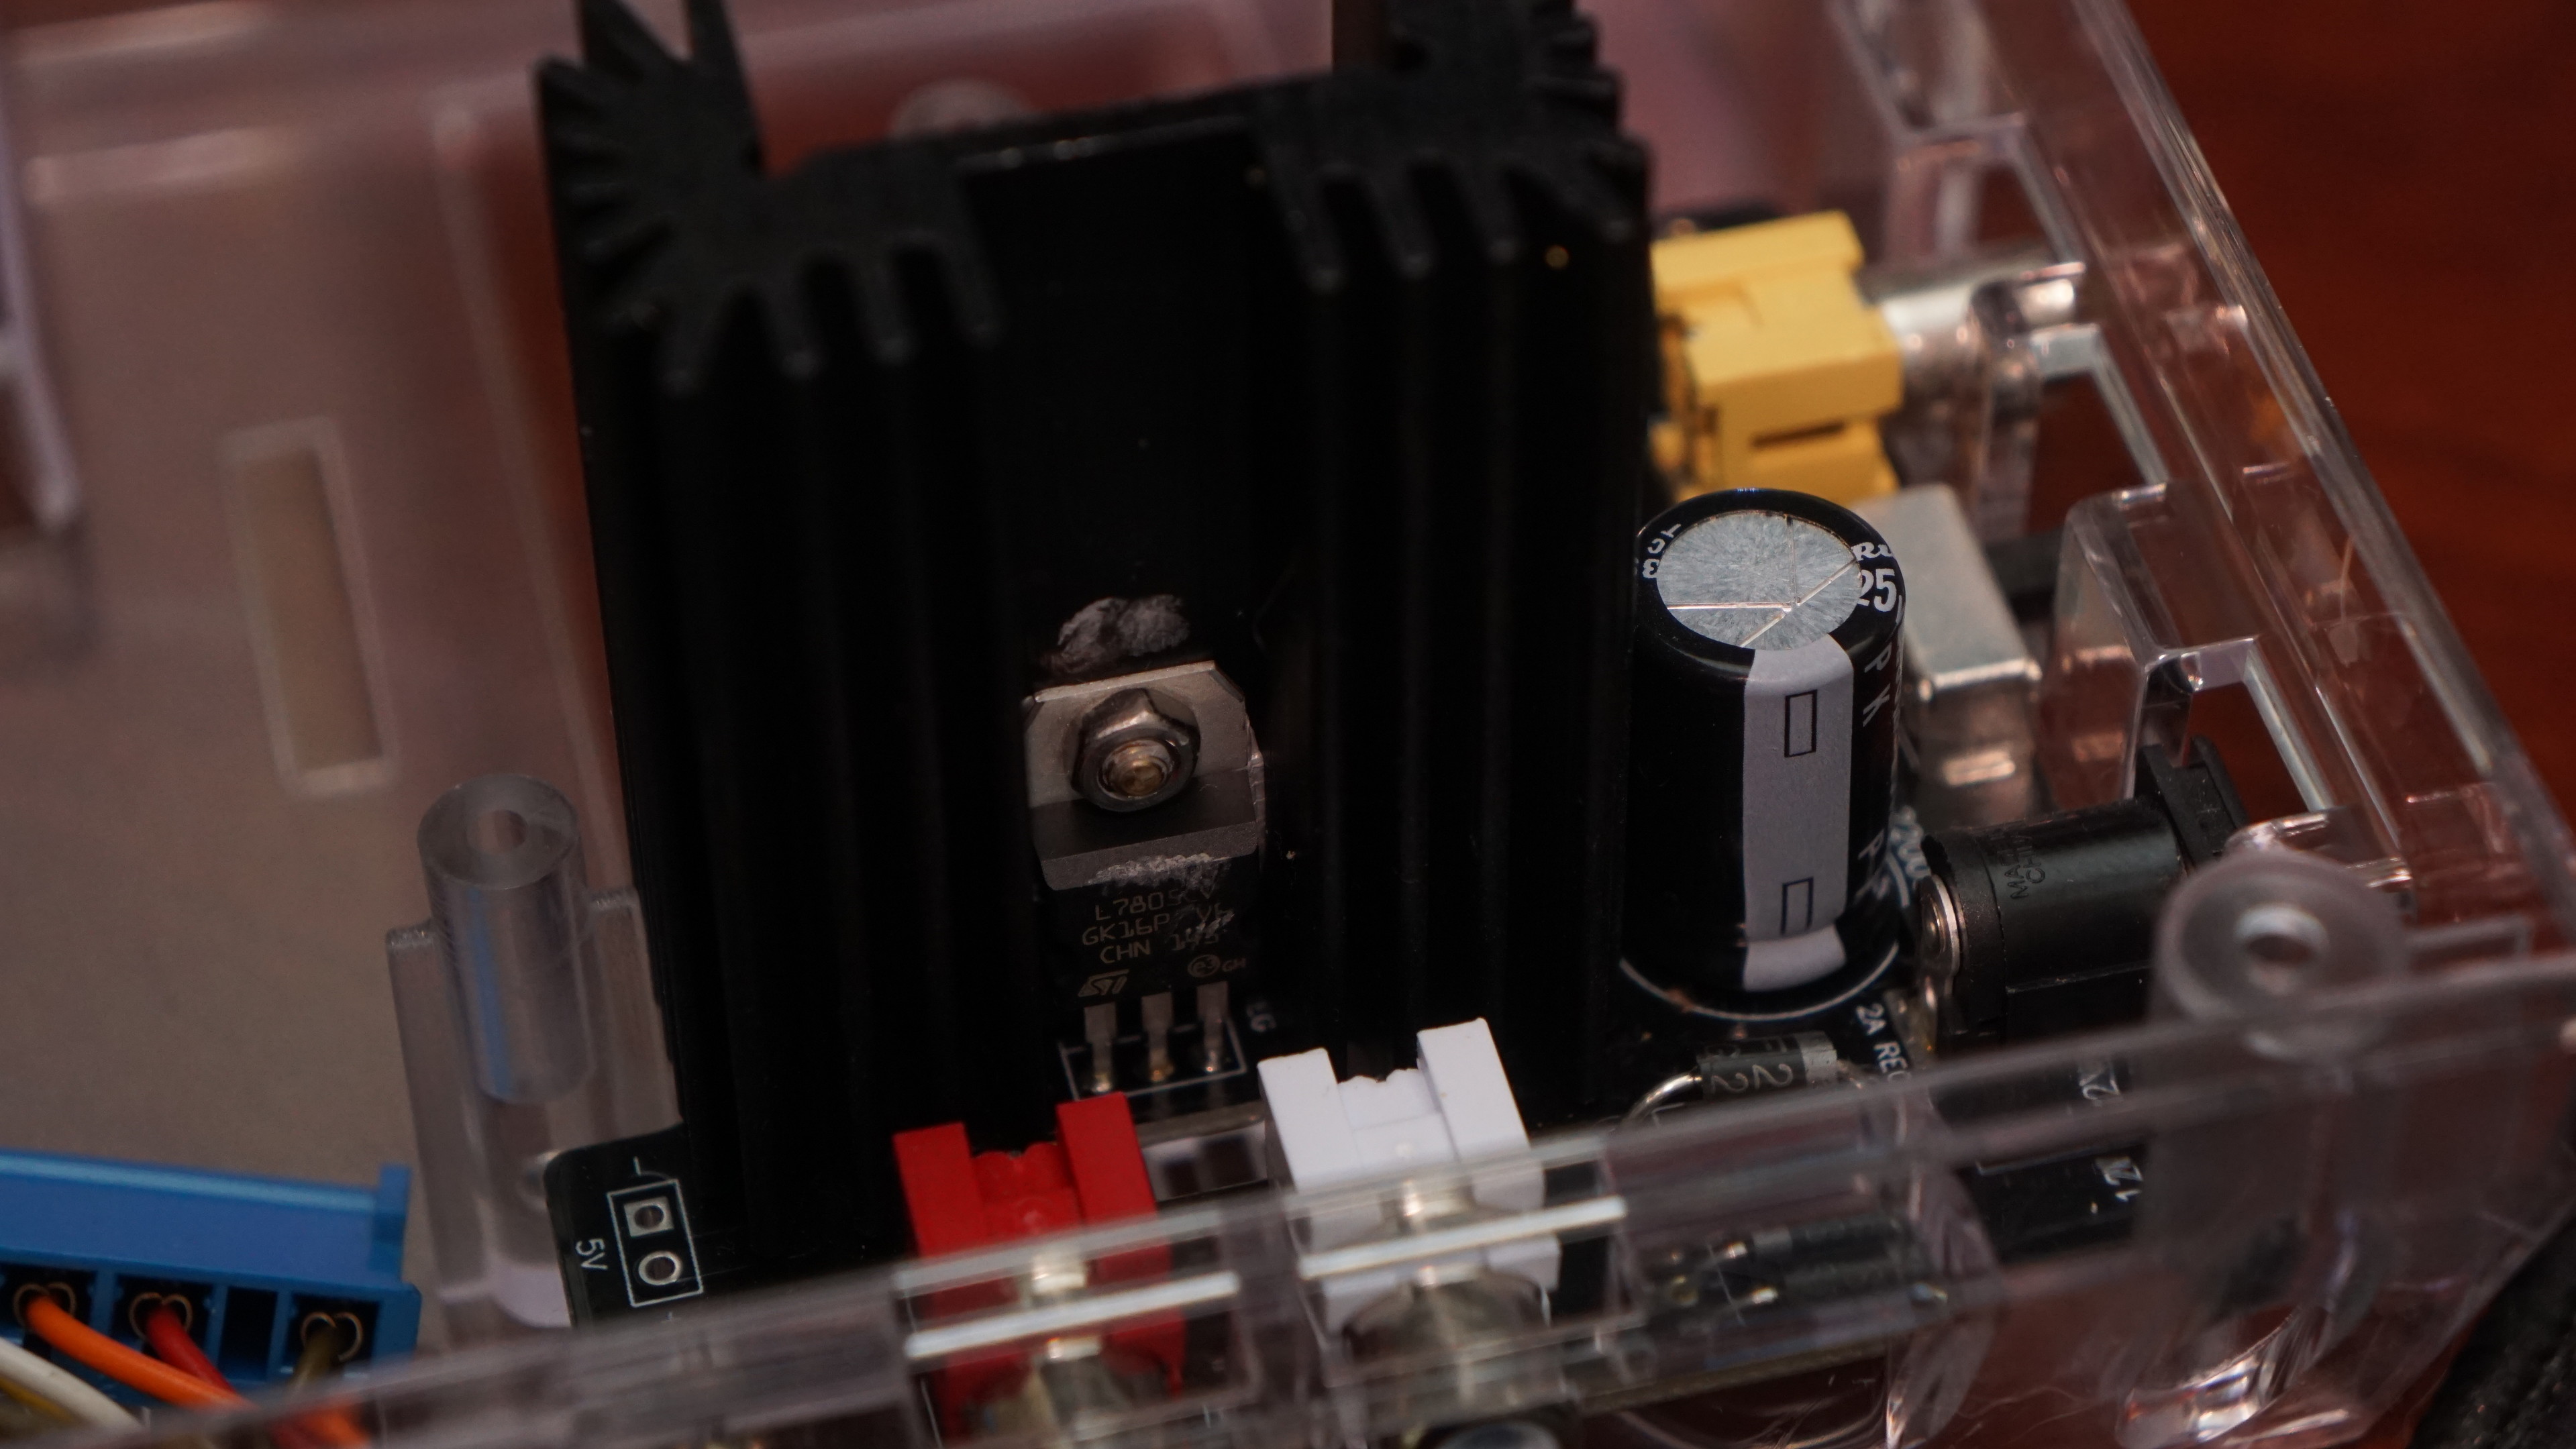
Also, it's recommended to use a second 5V linear voltage regulator, but I'm going to skip it. The reason it's recommended is that the OG NES frontloader 5V voltage regulator will overheat due to the small heatsink size. On this build, I'm pretty sure the regulator is more than sufficient to dissipate the extra heat...lol
#nes #nintendo #electronics #retrogaming